20% discount until May 12, 2024

Sent in 2-3 business days Extensive image bank with Quotes, Colors & Prints

How to create a cohesive look for your Modulari in 6 steps

Photos of your newborn child or those unforgettable holiday snapshots, an inspiring quote, and a felt tile. In your mind, it looked beautiful, but once assembled, your design appears busy and cluttered. How do you ensure that your design forms a cohesive whole and that putting together your Modulari is a joyous occasion? With these 6 steps, you can create a Modulari that brings you joy.

Step 1: Make it your own little moment.

Pour yourself a tasty drink, create a cozy atmosphere with a few candles, and enjoy reliving all those beautiful moments as you select your photos. Remember that gaze you exchanged when you said your vows or that delightful evening with friends? They deserve a spot in your home, so you can be reminded of that ultimate happiness time and time again.

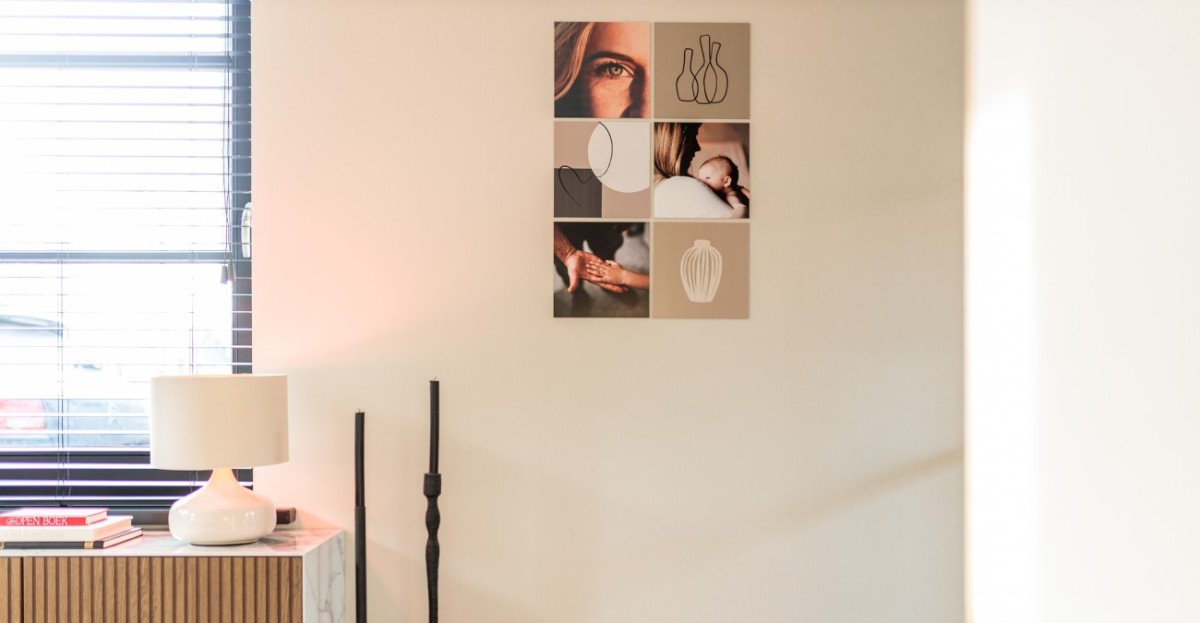
Step 2: Determine the number of tiles.

To make a good estimate of the number of photos and other images you'll need, start by deciding how many elements you want your Modulari to consist of. If you're still unsure, check out our article with practical tips for determining the size and layout of your design. Alternatively, dive right in and see where your creativity takes you. You can always adjust the number of elements as you go along.

muurdecoratie Wanddecoratie ophangen
Wanddecoratie ophangen
Tip: Unsure about the layout of your design? Feel free to contact us via chat and receive a complimentary advice from our interior stylists.

Step 3: Adding personal photos? Choose a colour scheme

By choosing photos with similar tones, you can achieve a sense of harmony in your design. Survey your surroundings and pinpoint the (accent) colors you notice. Next, select one or two of these colors as the theme for your Modulari. If blue features prominently in your interior, consider opting for photos with cooler tones. For a warm interior with earthy hues, you might lean towards photos with a warm glow. Furthermore, our Lightroom filters can be used during the collage design process to augment the coherence of your photos.


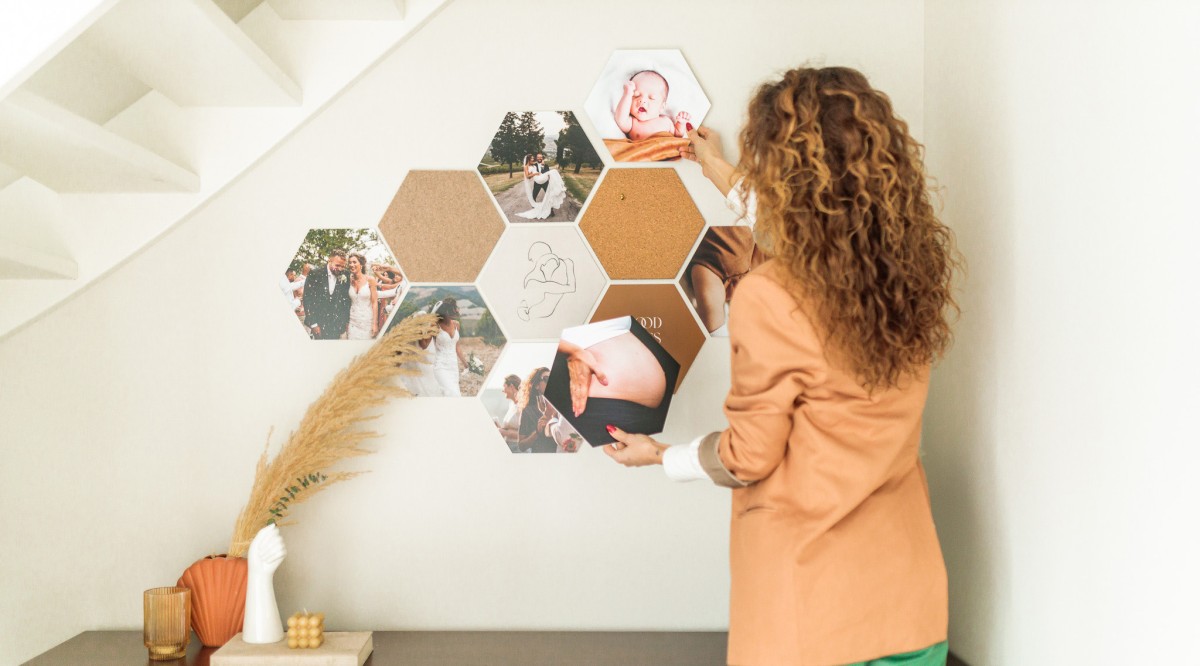
Step 4: Mix various types of photos.

Now that you've determined the color theme and the number of tiles, you can make a final selection. We understand that choosing from all those heartwarming photos can be challenging. Ensure you create a delightful mix of overview and detail shots. For instance, use a group photo featuring friends or children and add a close-up shot, such as baby feet or an embrace. By combining these types of photos, you create a sense of tranquility in your design, allowing each photo to shine beautifully.

Fotomuur maken

Step 5: Enhance your design with additional images.

Depending on the number of personal photos you want to use, complement your design with additional images. Explore our versatile image bank, where you can find a suitable tile for every design. If you want to turn your design into a photo collage that reminds you of your dreams every day, consider adding inspiring quotes. If you incorporate a photo of your pregnant belly into your design, let the shade or fabric of your clothing reappear in a tile with a matching color or felt. This easily adds more depth to your photo wall. If you have a natural, Scandinavian interior, adding a wood pattern can be a nice touch. In an industrial setting, sleek, graphic images can be a captivating focal point. From colors to mirrors, and from cork to tactile wallpaper, play with your design to discover the most appealing combination. Having trouble deciding? Follow this guideline: 2/3 photos, 1/3 other images. This ensures balance in your design.

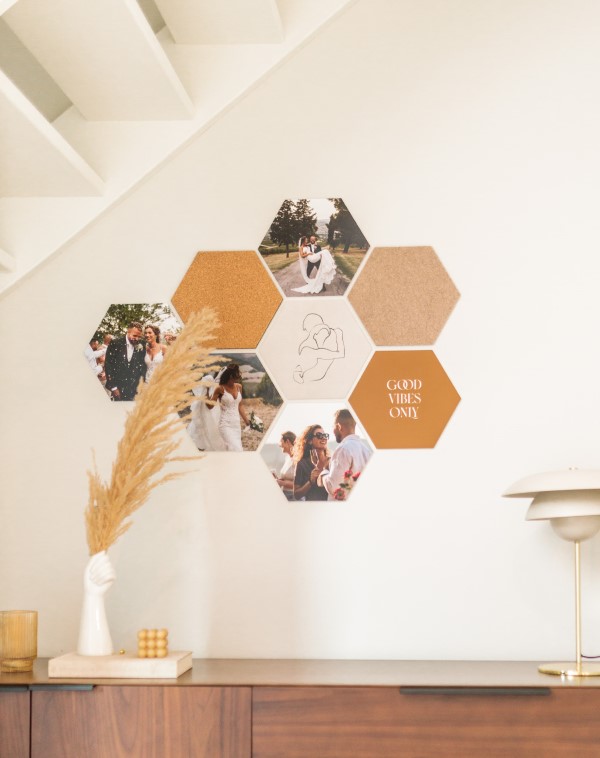
Step 6: Determine the order

Now that you've chosen your favorite images, feel free to rearrange them until you find the ideal combination. If you're incorporating photos into your design, distribute them nicely across the entire layout. The same applies to other images you choose. For example, if you have blue as an accent color combined with black and white photos, make sure to distribute the blue color throughout the entire design. Do the same for images that are lighter or darker. This way, you can mix and match until you're completely satisfied.


Shipping Rates

Shipping Rates

Delivery:
4 Business Days *
Price:
€4.95
Delivery:
5 Business Days *
Price:
€4.95
Delivery:
6 Business Days *
Price:
€5.95
Delivery:
5 Business Days *
Price:
€5.95
Delivery:
4 Business Days *
Price:
€4.95
Delivery:
6 Business Days *
Price:
€5.95
Delivery:
6 Business Days *
Price:
€7.95
Delivery:
6 Business Days *
Price:
€9.95
Delivery:
6 Business Days *
Price:
€8.95
Delivery:
6 Business Days *
Price:
€6.95
Delivery:
5 Business Days *
Price:
€4.95
Delivery:
6 Business Days *
Price:
€6.95
Delivery:
7 Business Days *
Price:
€7.95
Delivery:
4 Business Days *
Price:
€5.95
Delivery:
8 Business Days *
Price:
€7.95
Delivery:
6 Business Days *
Price:
€6.95
Delivery:
6 Business Days *
Price:
€6.95
Delivery:
6 Business Days *
Price:
€7.95
Delivery:
6 Business Days *
Price:
€7.95
Delivery:
5 Business Days *
Price:
€5.95

* depending on the capacity of the carrier